 Save
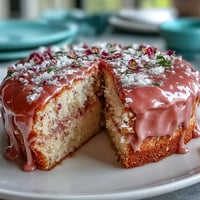
Save The scent of vanilla and warm sugar always seems to fill my kitchen whenever I bake this Graduation Cake. That first time I attempted the geode design, I found myself humming along to the radio, hands dusted in powdered sugar, marveling at how ordinary ingredients could become something so striking. Finishing the sugar crystals felt like decorating a gemstone, and I couldn't help but grin as a friend peeked in, tempted by the teal and gold shimmer. Every batch since has become a playful experiment, never quite identical but always dazzling. This recipe is a testament to simple celebration elevated by a bit of creative fun.
Last spring, my cousin graduated, and the whole family gathered in my kitchen, eager to help. My younger niece hovered near the bowls, sneaking tastes of buttercream and cheering every step. When the cake emerged with its geode glitter, everyone paused in awe, and later, she declared it the "coolest cake ever". The laughter and teamwork made the decorating process unforgettable. This recipe now reminds me of that day whenever I dust gold luster dust across the sugar crystals.
Ingredients
- All-purpose flour: Gives structure for tall layers—sift for fluffier texture.
- Baking powder: Helps the cake rise evenly—fresh baking powder makes a difference.
- Salt: Balances sweetness—always add, never skip.
- Unsalted butter: Room temperature blends best—soft butter creamed well is key to a smooth crumb.
- Granulated sugar: Sweetens and tenderizes—mix until light for best cake texture.
- Eggs: Room temp eggs incorporate more smoothly—avoid cold eggs for consistent batter.
- Vanilla extract: Brings warmth & fragrance—use real extract for depth.
- Whole milk: Enhances richness—alternating with dry ingredients prevents lumps.
- Powdered sugar: Sift to avoid clumps in buttercream—smooth finish matters.
- Teal gel food coloring: Gel gives vivid color without extra liquid—add gradually.
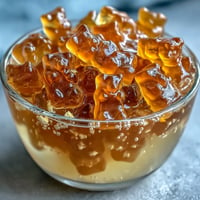
- Rock sugar crystals: Creates the geode effect—use clear or white for strong colors.
- Edible gold leaf or gold luster dust + alcohol: For painting edges—wait until cake is cool before handling.
- Simple syrup (optional): Brushed between layers prevents dryness—don't soak, just lightly moisten.
Tired of Takeout? 🥡
Get 10 meals you can make faster than delivery arrives. Seriously.
One email. No spam. Unsubscribe anytime.
Instructions
- Mix Dry Ingredients:
- In a mixing bowl, whisk flour, baking powder, and salt together so everything is evenly combined. You'll notice the flour gets lighter and easier to blend into the batter.
- Cream Butter and Sugar:
- With your electric mixer, beat the unsalted butter and sugar together until fluffy and pale. The mixture should billow and hold soft peaks when you lift the beater.
- Add Eggs and Vanilla:
- Crack the eggs in one at a time, followed by vanilla, mixing gently after each addition. The aroma at this step always promises a fresh, rich cake.
- Incorporate Dry Ingredients and Milk:
- Alternate between adding the dry mix and milk, starting and finishing with dry. The batter becomes smooth and glossy, don't overmix at this stage.
- Bake the Cakes:
- Divide the batter between three greased, lined pans, smoothing tops, then bake at 350°F until a toothpick comes out clean. Let the cakes cool ten minutes in the pans before turning onto a rack.
- Make Buttercream:
- Beat butter until creamy, adding powdered sugar gradually, then vanilla and cream for the perfect spreadable consistency. Tint most of the buttercream teal, leaving a little plain for crumb coating.
- Tint Sugar Crystals:
- Mix sugar crystals with teal food coloring in a bowl, using a spoon or gloved fingers to gently blend. Lay them out to dry on parchment if needed, so they're easy to handle later.
- Layer and Stack:
- Level cake layers if needed and brush with simple syrup if you want extra moistness. Stack the layers, spreading a thin layer of buttercream between each.
- Crumb Coat and Frost:
- Apply a thin layer of untinted buttercream for tidy edges, then chill. Cover with teal buttercream, smoothing the sides and top with an offset spatula.
- Carve the Geode:
- Using a serrated knife, carefully carve a slice or wedge for your geode window. The exposed cake surface is your canvas.
- Apply Sugar Crystals:
- Smooth buttercream inside the carved area, then press in your teal crystals, layering pale in the center and dark on the edges for depth. Let some spill slightly onto the cake for natural effect.
- Paint Gold Accents:
- With a food-safe paintbrush, apply gold leaf or brush with gold luster dust mixed with alcohol around the geode edges. Gold gives the cake its sparkle—hold your breath for the finishing touch.
- Add Finishing Touches:
- Place extra gold details and a graduation topper if desired. Step back to admire your masterpiece before serving.
 Save
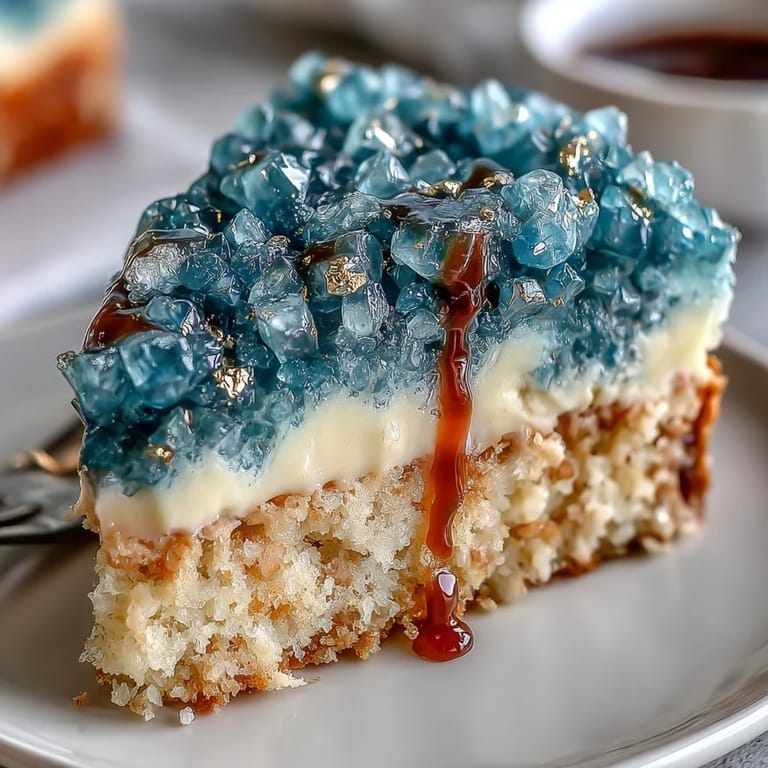
Save When I set the final slice on the table at my friend's graduation party, a hush fell across the room as everyone took in the shimmering teal and gold. It wasn't just a cake—it was an edible trophy that celebrated the moment, drawing even the shyest guests to the center of the festivities. Sharing that slice broke the ice and set the tone for laughter and happy toasts all night long.
How to Get Sharp Buttercream Edges
An offset spatula and patience go together for those crisp sides. If the buttercream feels too soft, I chill the cake for a bit then return with the spatula warmed under hot water to finish smoothing.
Choosing Sugar Crystals for Geode Effect
Clear rock sugar picks up color beautifully, but I've found adding a dash of blue gel alongside teal deepens the visual drama. If the crystals clump, give them a gentle toss and let them dry thoroughly before pressing them onto the buttercream.
Decorating Without Stress
Decorating can feel intimidating, but starting with the crumb coat makes the whole process cleaner and less frantic. I usually have a damp cloth nearby for wiping hands and stray gold dust. Keeping decorations out until the cake is chilled means fewer fingerprints on the final surface.
- Work with chilled cake, not warm layers.
- Test gold paint on parchment before applying.
- Don't rush the sugar crystal step—let yourself enjoy the process.
 Save
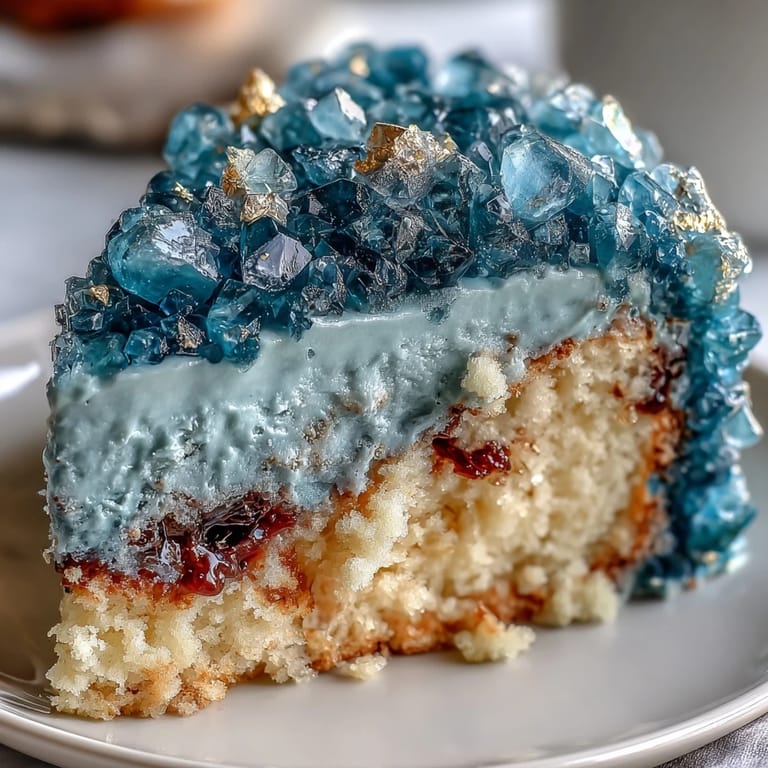
Save This geode graduation cake always draws smiles and curiosity. Don't be afraid to let your creativity sparkle—every slice becomes a memory worth celebrating.
Recipe FAQ
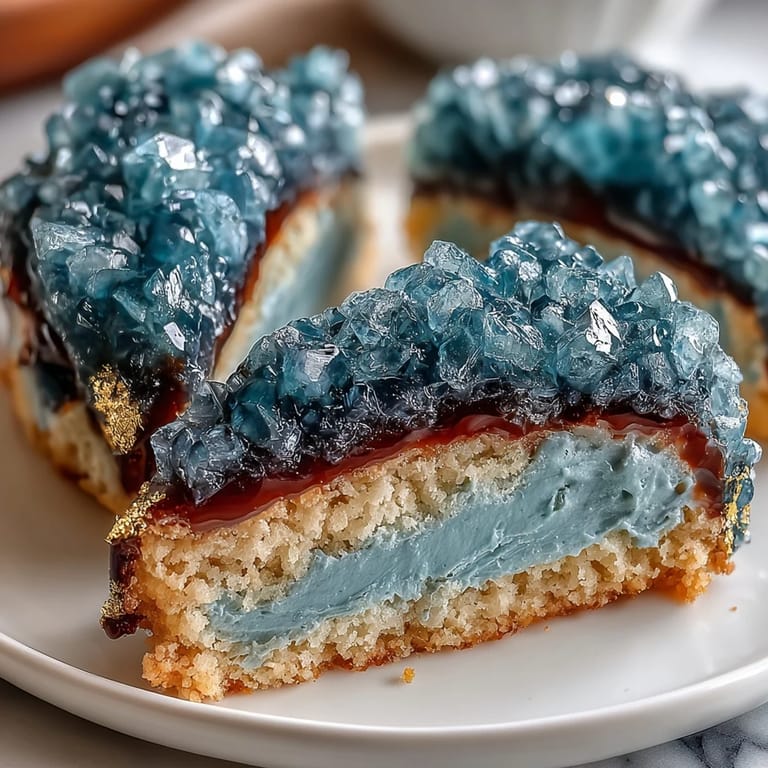
- → How is the teal geode effect created?
Rock sugar crystals are tinted with teal gel food coloring, then arranged inside a carved cake wedge to mimic a geode.
- → Can I use other food coloring shades?
Yes, blending teal and blue creates a more dramatic look. Make sure to use gel coloring for best results.
- → What adds the gold accents?
Edible gold leaf or gold luster dust brushed around the geode edge adds a striking metallic flourish.
- → What flavor is the cake base?
Classic vanilla, but you can substitute almond or lemon extract for a twist on the flavor profile.
- → Is the cake suitable for vegetarians?
Yes, all listed ingredients are vegetarian-friendly. Always check labels for possible allergen traces.