 Save
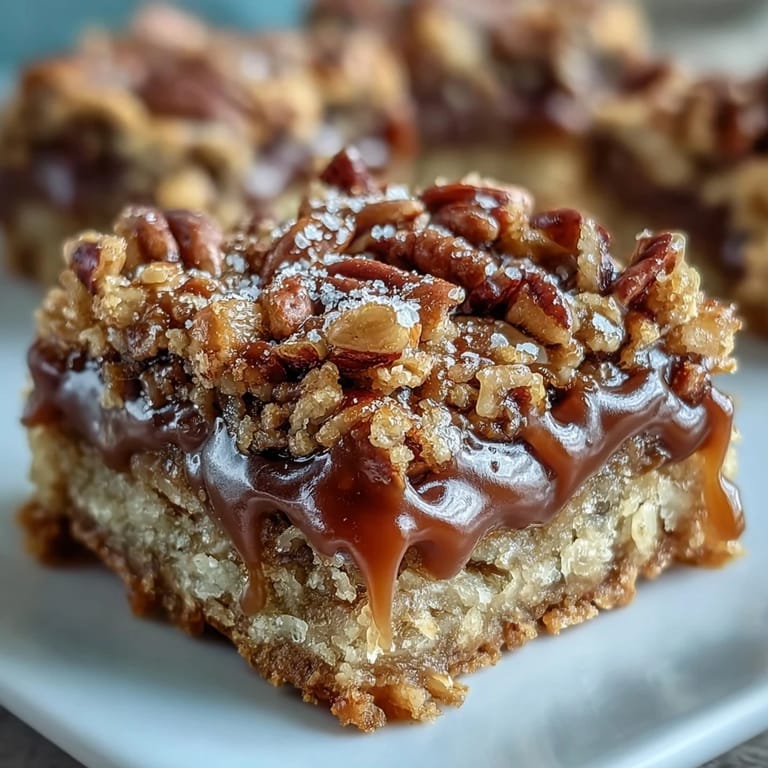
Save The smell of toasted oats and bubbling caramel pulled my neighbor through the front door before I could even set the pan down to cool. She stood in the doorway, hands on her hips, pretending to be annoyed that I hadn't texted her first. These bars have that effect: they announce themselves with butter, sugar, and chocolate, and suddenly your kitchen feels like the only place anyone wants to be. I've made them for bake sales, book clubs, and quiet Tuesday nights when I just need something sweet and chewy to reset the day.
I brought a tray of these to a potluck where everyone else showed up with store-bought cookies and chips. By the time I returned to the table, only crumbs remained, and three people had already asked for the recipe. One friend admitted she ate four squares standing over the pan in my kitchen before we even left. That's the kind of loyalty these bars inspire: shameless, immediate, and completely justified.
Ingredients
- All-purpose flour: Forms the base of the crumb crust and topping, lending structure without making the bars cakey or heavy.
- Rolled oats: Add that signature chewy texture and a hint of wholesome flavor that balances all the sweetness.
- Packed brown sugar: Brings moisture and a molasses-rich depth that makes the crust taste almost like a soft cookie.
- Granulated sugar: Keeps the crumble light and crisp, preventing it from turning dense or sticky.
- Unsalted butter, melted: Binds everything together and creates golden, buttery pockets throughout the crust and topping.
- Salt: Just enough to cut through the sweetness and make every other flavor pop.
- Baking soda: Gives the crumb mixture a slight lift and tender crumble instead of a hard press.
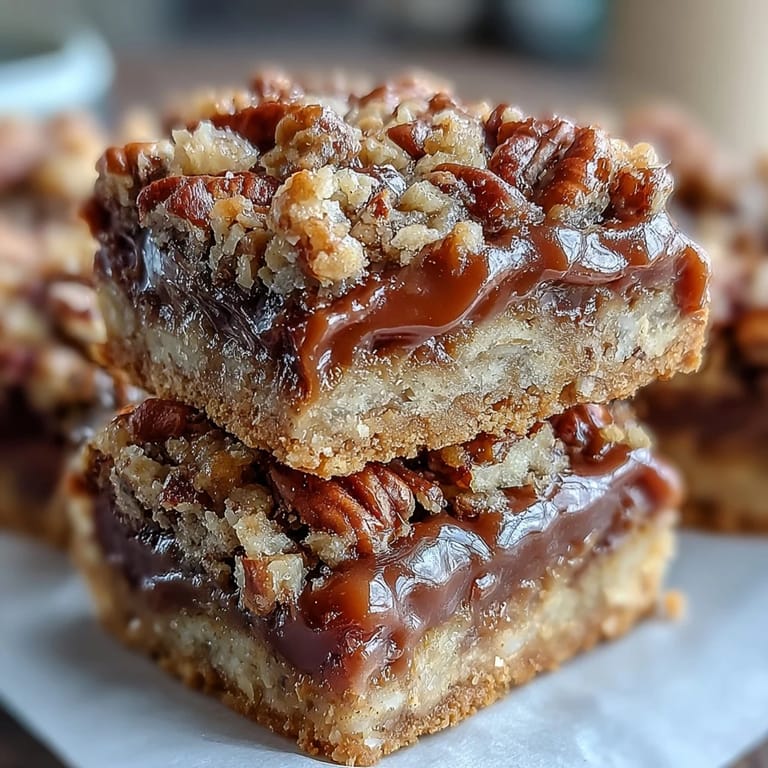
- Semi-sweet chocolate chips: Melt into the warm crust and mingle with caramel, creating those signature turtle swirls.
- Chopped pecans: Toast as they bake, adding nutty crunch and that classic turtle candy vibe.
- Caramel sauce: The star of the show, store-bought works beautifully, but homemade adds an extra layer of pride.
- Heavy cream: Thins the caramel just enough to pour smoothly and soak into every crevice without pooling.
Tired of Takeout? 🥡
Get 10 meals you can make faster than delivery arrives. Seriously.
One email. No spam. Unsubscribe anytime.
Instructions
- Prepare the Pan:
- Preheat your oven to 350°F and grease a 9x9-inch pan or line it with parchment, leaving a little overhang for easy lifting later. This simple step saves you from prying bars out with a spatula and cursing under your breath.
- Mix the Crumb Base:
- In a large bowl, stir together flour, oats, both sugars, melted butter, salt, and baking soda until the mixture looks like wet sand. Reserve 1 cup for the topping and press the rest firmly into the bottom of your pan to form an even crust.
- Bake the Crust:
- Slide the pan into the oven for 10 minutes, just until the edges start to turn golden and your kitchen smells like warm cookies. This pre-bake keeps the bottom from getting soggy under all that caramel.
- Make the Caramel Layer:
- While the crust bakes, combine caramel sauce and heavy cream in a small saucepan over medium-low heat, stirring constantly until smooth and pourable. Remove from heat as soon as it's glossy and unified.
- Layer the Filling:
- Pull the crust from the oven and immediately scatter chocolate chips across the hot surface, then sprinkle pecans on top. The residual heat will start melting the chocolate before the caramel even hits.
- Pour the Caramel:
- Drizzle the warm caramel evenly over the chocolate and pecans, letting it find its way into every corner. Don't worry if it looks messy, that's exactly what you want.
- Add the Topping:
- Sprinkle the reserved crumb mixture over the caramel layer, covering as much surface as you can. It will bake into golden, buttery clusters that contrast beautifully with the gooey center.
- Bake Until Golden:
- Return the pan to the oven for 15 to 20 minutes, until the topping turns a deep golden brown and the caramel bubbles up around the edges. Your kitchen will smell like a candy shop at this point.
- Cool Completely:
- Set the pan on a wire rack and let it cool entirely before cutting, at least 30 minutes. Cutting too soon turns neat squares into a delicious but messy heap.
 Save
Save My dad once ate three of these in one sitting, then looked at me with genuine surprise when I told him they were homemade. He'd assumed I'd driven to some boutique bakery and paid a small fortune. That moment, watching him realize I'd made something that tasted fancy with pantry staples and a little patience, felt better than any compliment. These bars have a way of making you look like a baking genius, even when you're really just following a simple roadmap and trusting the oven.
Storage and Shelf Life
These bars keep beautifully in an airtight container at room temperature for up to a week, though I've never seen them last longer than three days. The caramel stays soft and chewy, the chocolate holds its shape, and the crumb topping remains tender. If you want to stretch their life, stack them between layers of parchment paper and refrigerate, but let them come to room temperature before serving so the caramel doesn't turn too firm. I've also frozen them individually wrapped in plastic, then thawed them one at a time for emergencies or late-night cravings.
Variations and Substitutions
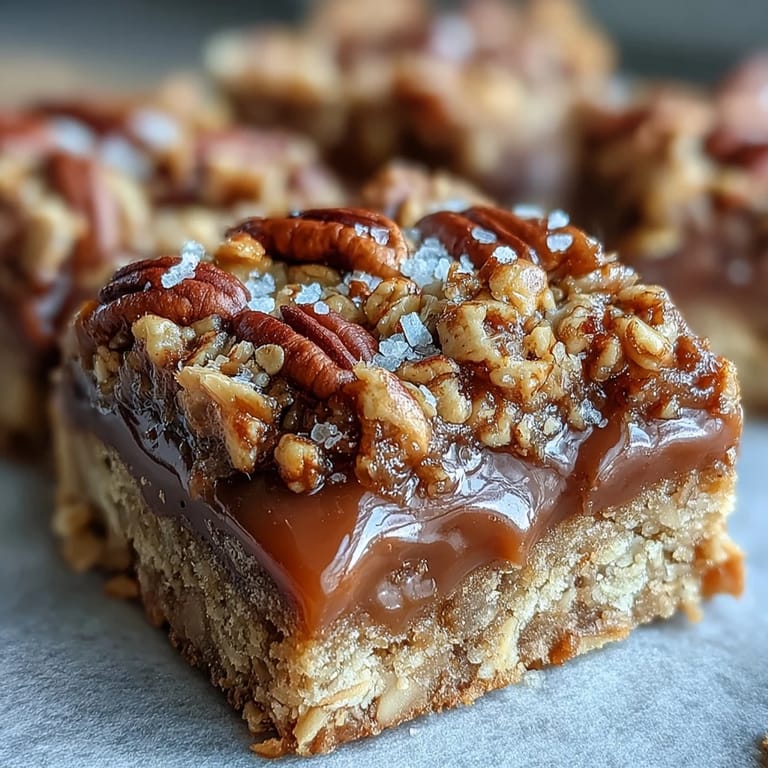
Swap pecans for walnuts or almonds if that's what you have on hand, each nut brings a slightly different flavor but all work beautifully with caramel. For a salted caramel twist, sprinkle flaky sea salt over the caramel layer before adding the crumb topping, it cuts the sweetness and makes every bite feel a little more grown-up. I've also stirred a tablespoon of bourbon into the caramel sauce for a deeper, more complex flavor, though that's entirely optional. If you're feeling indulgent, drizzle melted dark chocolate over the cooled bars before slicing, it adds another layer of richness and makes them look bakery-perfect.
Serving Suggestions
These bars shine on their own, but a scoop of vanilla ice cream on the side turns them into a proper dessert for dinner guests. I've also crumbled them over ice cream sundaes, folded chunks into milkshakes, and packed them into lunchboxes with a cold pack to keep the caramel from melting. They're perfect for bake sales because they travel well and don't need refrigeration, and they always sell out first. Pair them with strong coffee or cold milk, both cut through the sweetness and make you want to reach for just one more square.
- Serve warm with a drizzle of extra caramel sauce for an over-the-top treat.
- Pack them in tins for holiday gifts, they look impressive and taste even better.
- Cut them into smaller pieces for parties, a little goes a long way with this much caramel and chocolate.
 Save
Save Every time I pull these from the oven, I'm reminded that the best recipes are the ones that make people pause mid-conversation and ask what smells so good. These bars do that without fail, and they deliver on every promise that aroma makes.
Recipe FAQ
- → How do I know when the bars are done baking?
The bars are ready when the crumb topping turns golden brown, typically after 15-20 minutes. The caramel should be bubbling slightly around the edges, and the topping will feel set rather than loose or crumbly.
- → Can I make these bars ahead of time?
Yes, these bars keep well in an airtight container for up to one week. They actually taste better after sitting for a day, allowing the flavors to meld together. You can also freeze them for up to three months.
- → Why do I need to let the bars cool completely before cutting?
The caramel layer needs time to set as it cools. Cutting while warm will cause the caramel to ooze out and the layers to slide apart. Letting them cool at room temperature for the full resting time ensures clean, neat squares.
- → Can I use homemade caramel sauce instead of store-bought?
Absolutely. Homemade caramel sauce works beautifully and often has a richer flavor. Just ensure it's warm and pourable when mixed with the heavy cream so it spreads evenly over the chocolate and pecans.
- → What's the best way to get clean cuts?
Use a sharp knife and wipe it clean between cuts. For even cleaner edges, try chilling the bars in the refrigerator for 30 minutes before slicing. Lift the entire batch out using the parchment paper for easier cutting.
- → Can I substitute the pecans?
Walnuts or almonds make excellent substitutes if you prefer different nuts or have allergies. Toast them lightly before adding to enhance their flavor and maintain that satisfying crunch throughout the bars.