 Save
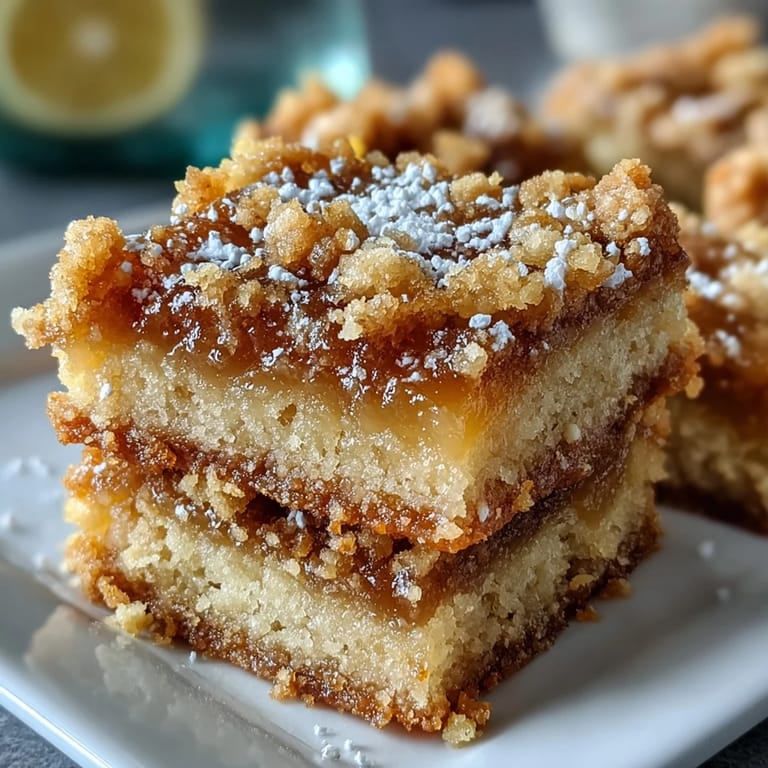
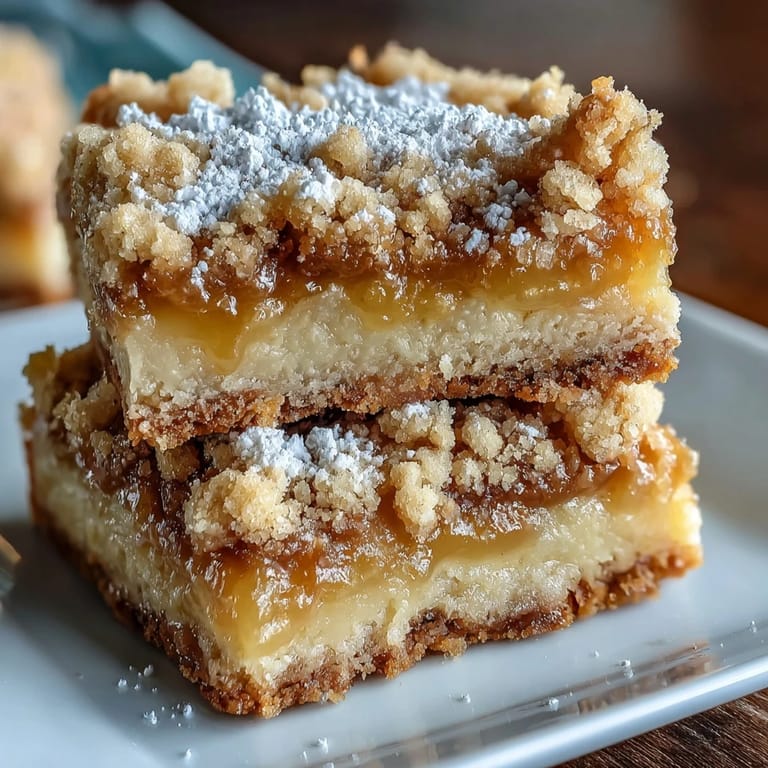
Save The kitchen window was cracked open one humid afternoon when I pulled these bars from the oven, and within minutes, my neighbor knocked to ask what smelled so good. That bright, buttery lemon scent has a way of traveling. I'd been craving something sweet but not too heavy, something that felt like sunshine in a pan. These bars delivered exactly that, with their crumbly top and tart custard center that set just right after a long chill. They've been my go-to ever since.
I first made these for a backyard gathering where everyone brought something homemade. They sat on the table next to berry pies and chocolate brownies, and I worried they'd get overlooked. But by the end of the evening, my pan was empty and two people had asked for the recipe. One friend said they reminded her of the lemon bars her grandmother used to make, but lighter. That comment stuck with me because it meant I'd captured something both familiar and fresh.
Ingredients
- All-purpose flour: Forms the base of both the crust and the crumb topping, providing structure without being too dense.
- Granulated sugar: Sweetens the crust and balances the tartness of the lemon filling.
- Baking powder: Gives a slight lift to the crust and helps the filling set with a tender texture.
- Salt: A small amount sharpens the flavors and keeps the sweetness in check.
- Unsalted butter, melted: Binds the crumb mixture and adds rich, buttery flavor throughout.
- Large eggs: Create the custard base for the filling, giving it body and a silky texture.
- Fresh lemon juice: The star of the filling, delivering that unmistakable citrus zing.
- Lemon zest: Intensifies the lemon flavor with aromatic oils from the peel.
- Powdered sugar (optional): A light dusting before serving adds a touch of elegance and extra sweetness.
Tired of Takeout? 🥡
Get 10 meals you can make faster than delivery arrives. Seriously.
One email. No spam. Unsubscribe anytime.
Instructions
- Preheat and Prep:
- Set your oven to 350°F and grease or line your 9x9-inch pan. This step ensures easy removal and clean edges later.
- Mix the Crumb Base:
- Combine the flour, sugar, baking powder, and salt in a bowl, then stir in the melted butter until the mixture looks like wet sand. Reserve half a cup for topping and press the rest firmly into the pan.
- Bake the Crust:
- Slide the pan into the oven for 10 to 12 minutes until the edges just start to turn golden. You want it set but not deeply browned.
- Whisk the Filling:
- While the crust bakes, whisk together eggs and sugar until smooth, then add lemon juice, zest, flour, baking powder, and salt. Make sure there are no lumps.
- Assemble and Bake:
- Pour the lemon filling over the hot crust, sprinkle the reserved crumbs on top, and bake for 20 to 25 minutes until the filling no longer jiggles. The topping should be lightly browned and fragrant.
- Cool and Chill:
- Let the bars cool in the pan for an hour, then refrigerate for at least another hour before slicing. This rest time is essential for clean cuts and the right texture.
 Save
Save One evening, I brought a batch to a potluck where a friend who usually avoids dessert took a second bar without saying a word. Later, she admitted she hadn't expected to like anything lemony, but the crumb topping won her over. That small moment reminded me how a simple recipe can surprise people and change their minds about what they think they enjoy.
Storing and Making Ahead
These bars keep beautifully in the refrigerator for up to a week, covered tightly with plastic wrap or stored in an airtight container. I often make them a day or two before I need them, which actually improves the texture as the flavors meld. If you want to freeze them, wrap individual bars in parchment and then foil, and they'll hold for up to three months.
Adjusting the Flavor
If you prefer a less tart filling, reduce the lemon juice slightly and add a tablespoon of cream or milk to mellow it out. For a more intense citrus punch, increase the zest or swap half the lemon juice for lime. I've also stirred in a drop of vanilla extract to the filling, which adds a subtle warmth without overshadowing the lemon.
Serving Suggestions
These bars shine on their own, but they pair wonderfully with a dollop of whipped cream or a scoop of vanilla ice cream. I like to serve them with hot tea in the afternoon or alongside a glass of chilled white wine after dinner. They also travel well to picnics and potlucks since they hold their shape and don't require refrigeration for a few hours.
- Dust with powdered sugar just before serving for a polished look.
- Add a few fresh berries on the side for color and extra freshness.
- Slice them small for bite-sized treats at parties or larger for a more substantial dessert.
 Save
Save Every time I make these, I'm reminded that the best recipes are the ones you can count on without fuss. They look impressive, taste like you spent hours in the kitchen, and always leave people asking for more.
Recipe FAQ
- → How long should the bars chill before serving?
The bars need to cool in the pan for at least 1 hour at room temperature, then refrigerate for an additional hour minimum. Proper chilling ensures the filling sets completely for clean slicing and the best texture.
- → Can I use bottled lemon juice instead of fresh?
Fresh lemon juice is strongly recommended for the brightest citrus flavor. Bottled juice can work in a pinch but may result in a less vibrant taste and slightly altered texture in the filling.
- → Why did my filling turn out runny?
Runny filling usually means insufficient chilling time. The bars must cool completely and refrigerate until fully set. For extra insurance, add 1 tablespoon cornstarch to the lemon mixture before baking.
- → Can I freeze these lemon crumb bars?
Yes, these freeze well. Wrap individual bars tightly in plastic wrap and place in a freezer-safe container for up to 3 months. Thaw in the refrigerator overnight before serving.
- → What size pan works best?
A 9x9-inch baking pan creates the ideal thickness for these bars. Using a larger pan will yield thinner pieces with different baking times, while a smaller pan may prevent proper setting.