 Save
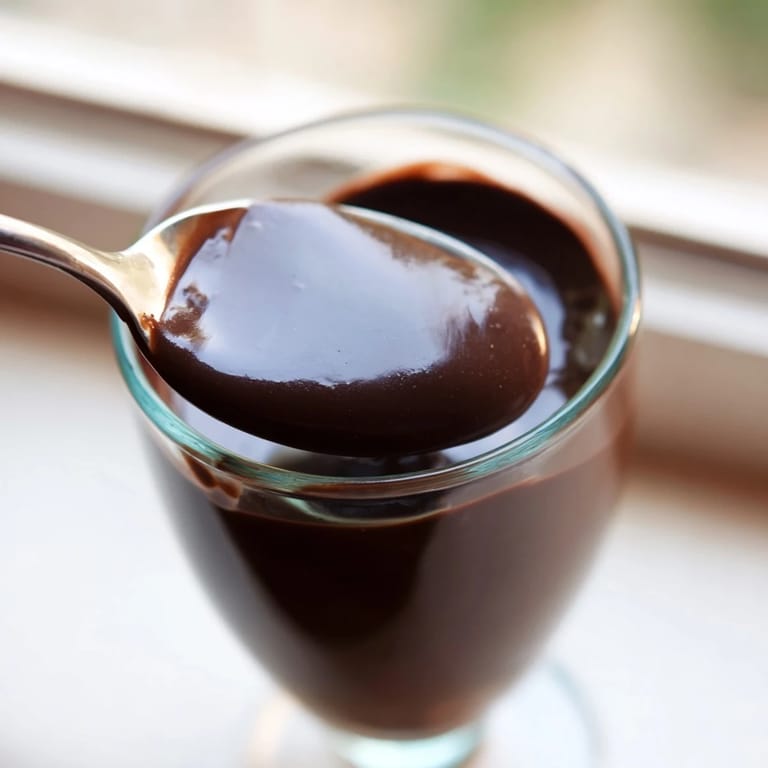
Save The first time I made chocolate pudding from scratch, I stood over that stove whisking like my life depended on it. Something magical happened when those bubbles started breaking through the surface - the transformation from this strange, thin, chocolate milk into something thick and glossy felt like kitchen alchemy. Now I make it whenever I need a dessert that feels impressive but secretly takes almost no effort at all.
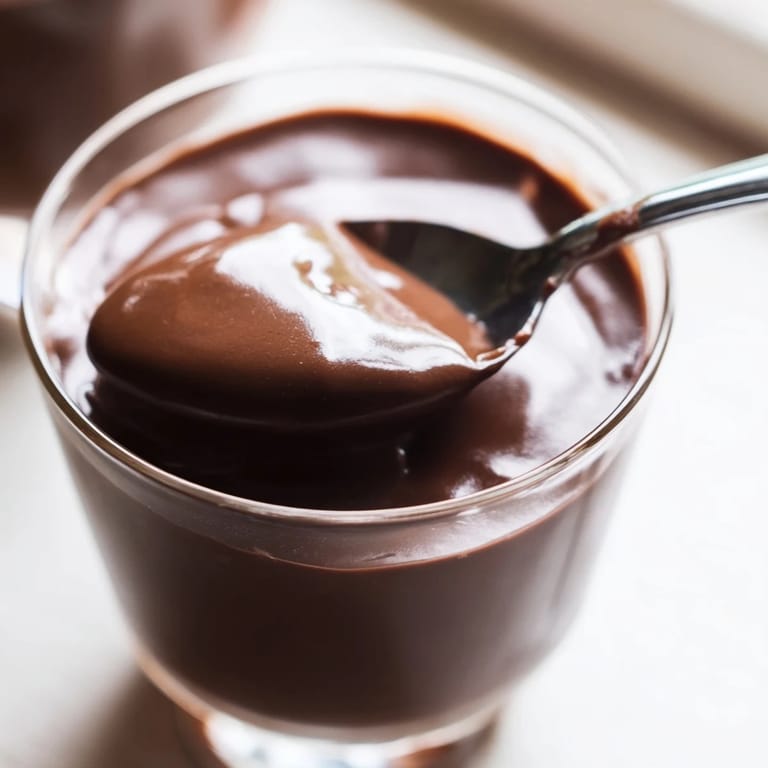
Last winter, my neighbor came over for an impromptu dinner and I served this pudding in these mismatched juice glasses I found at a thrift store. She literally stopped mid conversation, closed her eyes, and said this was exactly what her grandmother used to make. That moment of connection over something so simple and comforting stuck with me - sometimes the most humble desserts carry the biggest emotional weight.
Ingredients
- 2 cups whole milk: Whole milk creates that rich, luxurious mouthfeel you really cant fake with lower fat options
- 1/2 cup heavy cream: This little bit of cream transforms the texture from good to absolutely silk
- 2 tbsp unsalted butter: Adds an extra layer of richness and helps the pudding set beautifully
- 1/2 cup granulated sugar: Just enough sweetness to balance the dark chocolate without becoming cloying
- 1/4 cup unsweetened cocoa powder: The foundation of that deep chocolate flavor we are building
- 3 tbsp cornstarch: This is what works the thickening magic - dont be tempted to use less
- 1/4 tsp salt: A pinch of salt makes chocolate taste more chocolatey
- 100 g dark chocolate: Go for something good quality since this is the star of the show, 60 to 70 percent cocoa is perfect
- 1 tsp vanilla extract: Always add vanilla at the end to preserve those fragrant compounds
Tired of Takeout? 🥡
Get 10 meals you can make faster than delivery arrives. Seriously.
One email. No spam. Unsubscribe anytime.
Instructions
- Mix your dry base:
- In a medium saucepan, whisk together the sugar, cocoa powder, cornstarch, and salt until everything is evenly combined and no clumps remain.
- Add the dairy:
- Gradually whisk in the milk and cream, taking your time to dissolve any lumps before you turn on the heat.
- Cook until thickened:
- Place the saucepan over medium heat and whisk constantly - I mean constantly - until the mixture bubbles and thickens, about 5 to 7 minutes.
- Melt in the chocolate:
- Remove from heat immediately and add the chopped chocolate and butter, whisking until everything is melted and impossibly smooth.
- Finish with vanilla:
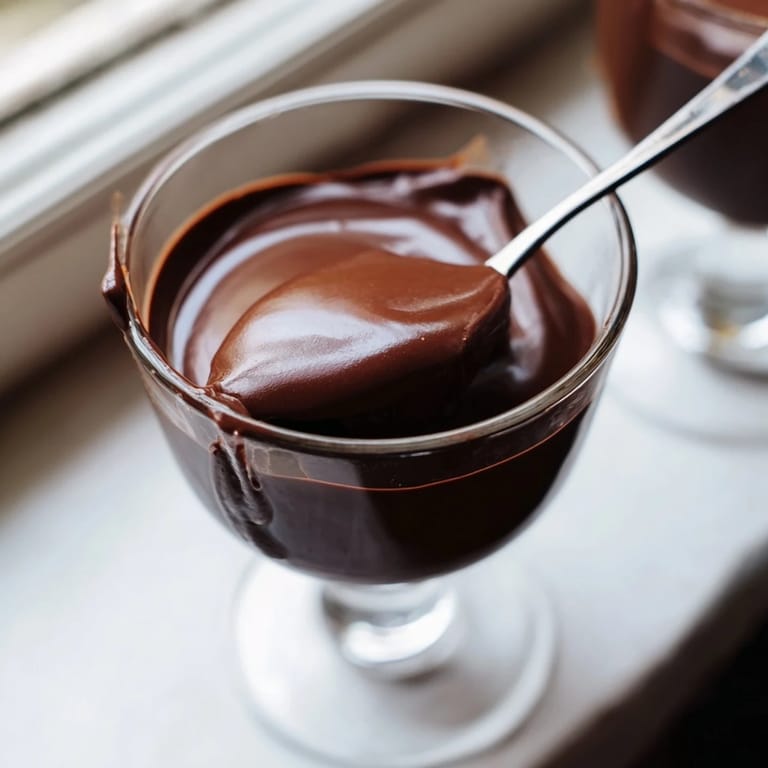
- Stir in the vanilla extract, then pour into individual serving cups or glasses.
- Prevent the skin:
- Press plastic wrap directly onto the surface of each pudding - this is the trick to avoiding that pudding skin some people love and others hate.
- Chill until set:
- Refrigerate for at least 2 hours, though overnight is even better if you can plan ahead.
- Serve your way:
- Top with whipped cream, chocolate shavings, or fresh berries right before serving.
 Save
Save My daughter helped me make this last weekend and she was absolutely fascinated watching the transformation from liquid to pudding. She kept asking if it was magic, and honestly, I kind of had to agree with her. Now she asks for chocolate pudding instead of birthday cake, which I consider a definite parenting win.
Making It Dairy Free
I have tested this with both coconut milk and almond milk blends with surprising success. The texture changes slightly - coconut milk creates an incredibly rich pudding while almond milk yields something lighter and more delicate. The key is finding a dairy free chocolate that melts well since some brands can seize up and become grainy instead of smooth.
Flavor Variations
A pinch of espresso powder added with the cocoa powder creates this mocha depth that coffee lovers go absolutely crazy for. During the holidays, I sometimes swap the vanilla for a tablespoon of Grand Marnier or Baileys - the alcohol cooks out but leaves behind this sophisticated flavor that makes the pudding feel extra fancy for dinner parties.
Serving Suggestions
Keep a container of whipped cream in the fridge and let guests add their own toppings - chocolate shavings, crushed cookies, or fresh berries all work beautifully. For a dinner party, I like setting up a little pudding bar with various toppings and let people customize their own dessert. This way everyone gets exactly what they want and it feels interactive and fun.
- Toast some nuts or coconut flakes ahead of time for extra texture and flavor
- A sprinkle of sea salt on top elevates the chocolate flavor beautifully
- Leftover pudding keeps for three days in the fridge, though it rarely lasts that long in my house
 Save
Save There is something deeply satisfying about making something so indulgent from such humble ingredients. This pudding has become my go to comfort food, and I hope it finds its way into your regular rotation too.
Recipe FAQ
- → How long does chocolate pudding need to chill?
The pudding requires at least 2 hours in the refrigerator to set properly. This chilling time is crucial for achieving that silky, firm texture that holds its shape when served. For best results, plan ahead and let it chill overnight—it only improves the texture and allows the flavors to meld beautifully.
- → Why do you put plastic wrap directly on the pudding?
Placing plastic wrap directly on the surface prevents a skin from forming as the pudding cools. The wrap creates a barrier that stops evaporation and keeps the top layer perfectly smooth. Press it gently onto the warm pudding before refrigerating to ensure complete coverage.
- → Can I make this chocolate dessert ahead of time?
Absolutely! This dessert actually benefits from being made 1-2 days in advance. The extended chilling time allows the cornstarch to fully set and the chocolate flavors to deepen. Store covered in the refrigerator and add any toppings just before serving for the freshest presentation.
- → What type of dark chocolate works best?
A dark chocolate bar with 60-70% cocoa content provides the ideal balance between intensity and sweetness. Higher percentages will result in a more bitter final product, while lower percentages make it overly sweet. Always chop the chocolate finely before adding—it melts more evenly and incorporates smoothly into the warm custard base.
- → How do I know when the mixture is thick enough?
The pudding is ready when it bubbles gently and coats the back of a spoon. You'll notice it transforms from a thin liquid to a velvety consistency similar to warm custard. This typically takes 5-7 minutes of constant whisking over medium heat. Don't rush this step—proper thickening ensures the dessert sets perfectly during chilling.
- → Can I substitute ingredients for dietary needs?
Yes! For dairy-free versions, use oat milk or almond milk with coconut cream instead of dairy products. Choose dairy-free dark chocolate and vegan butter. The cornstarch thickening method remains effective regardless of milk type, though plant-based versions may set slightly differently. Always check that your chocolate is certified dairy-free if needed.